


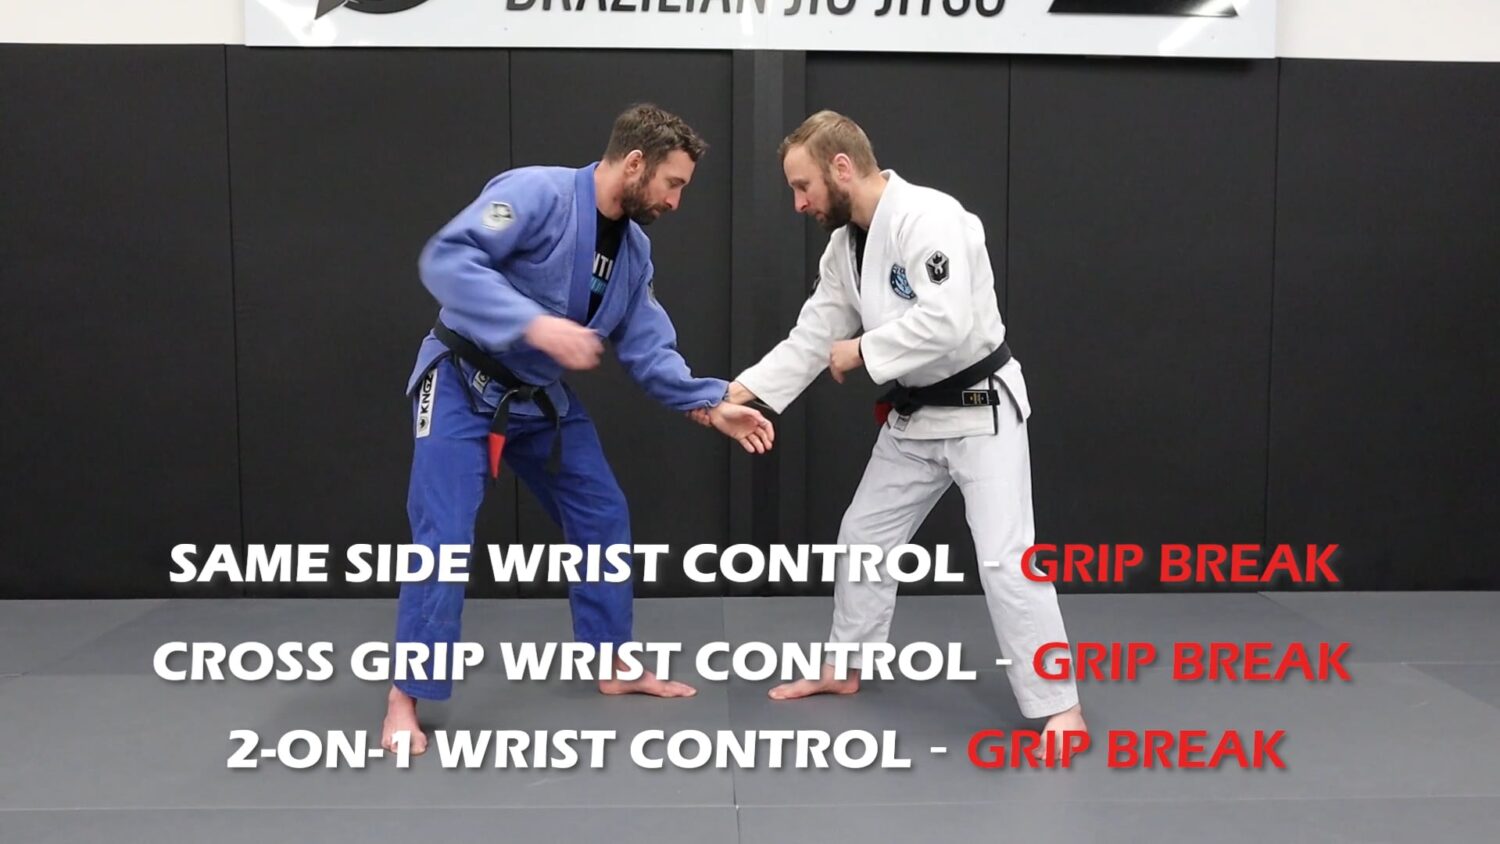
Standing Grip Break Vs. Wrist Control

… This content is for Annual, Lifetime, and Monthly members only.Login Join Now...
… This content is for Annual, Lifetime, and Monthly members only.Login Join Now...